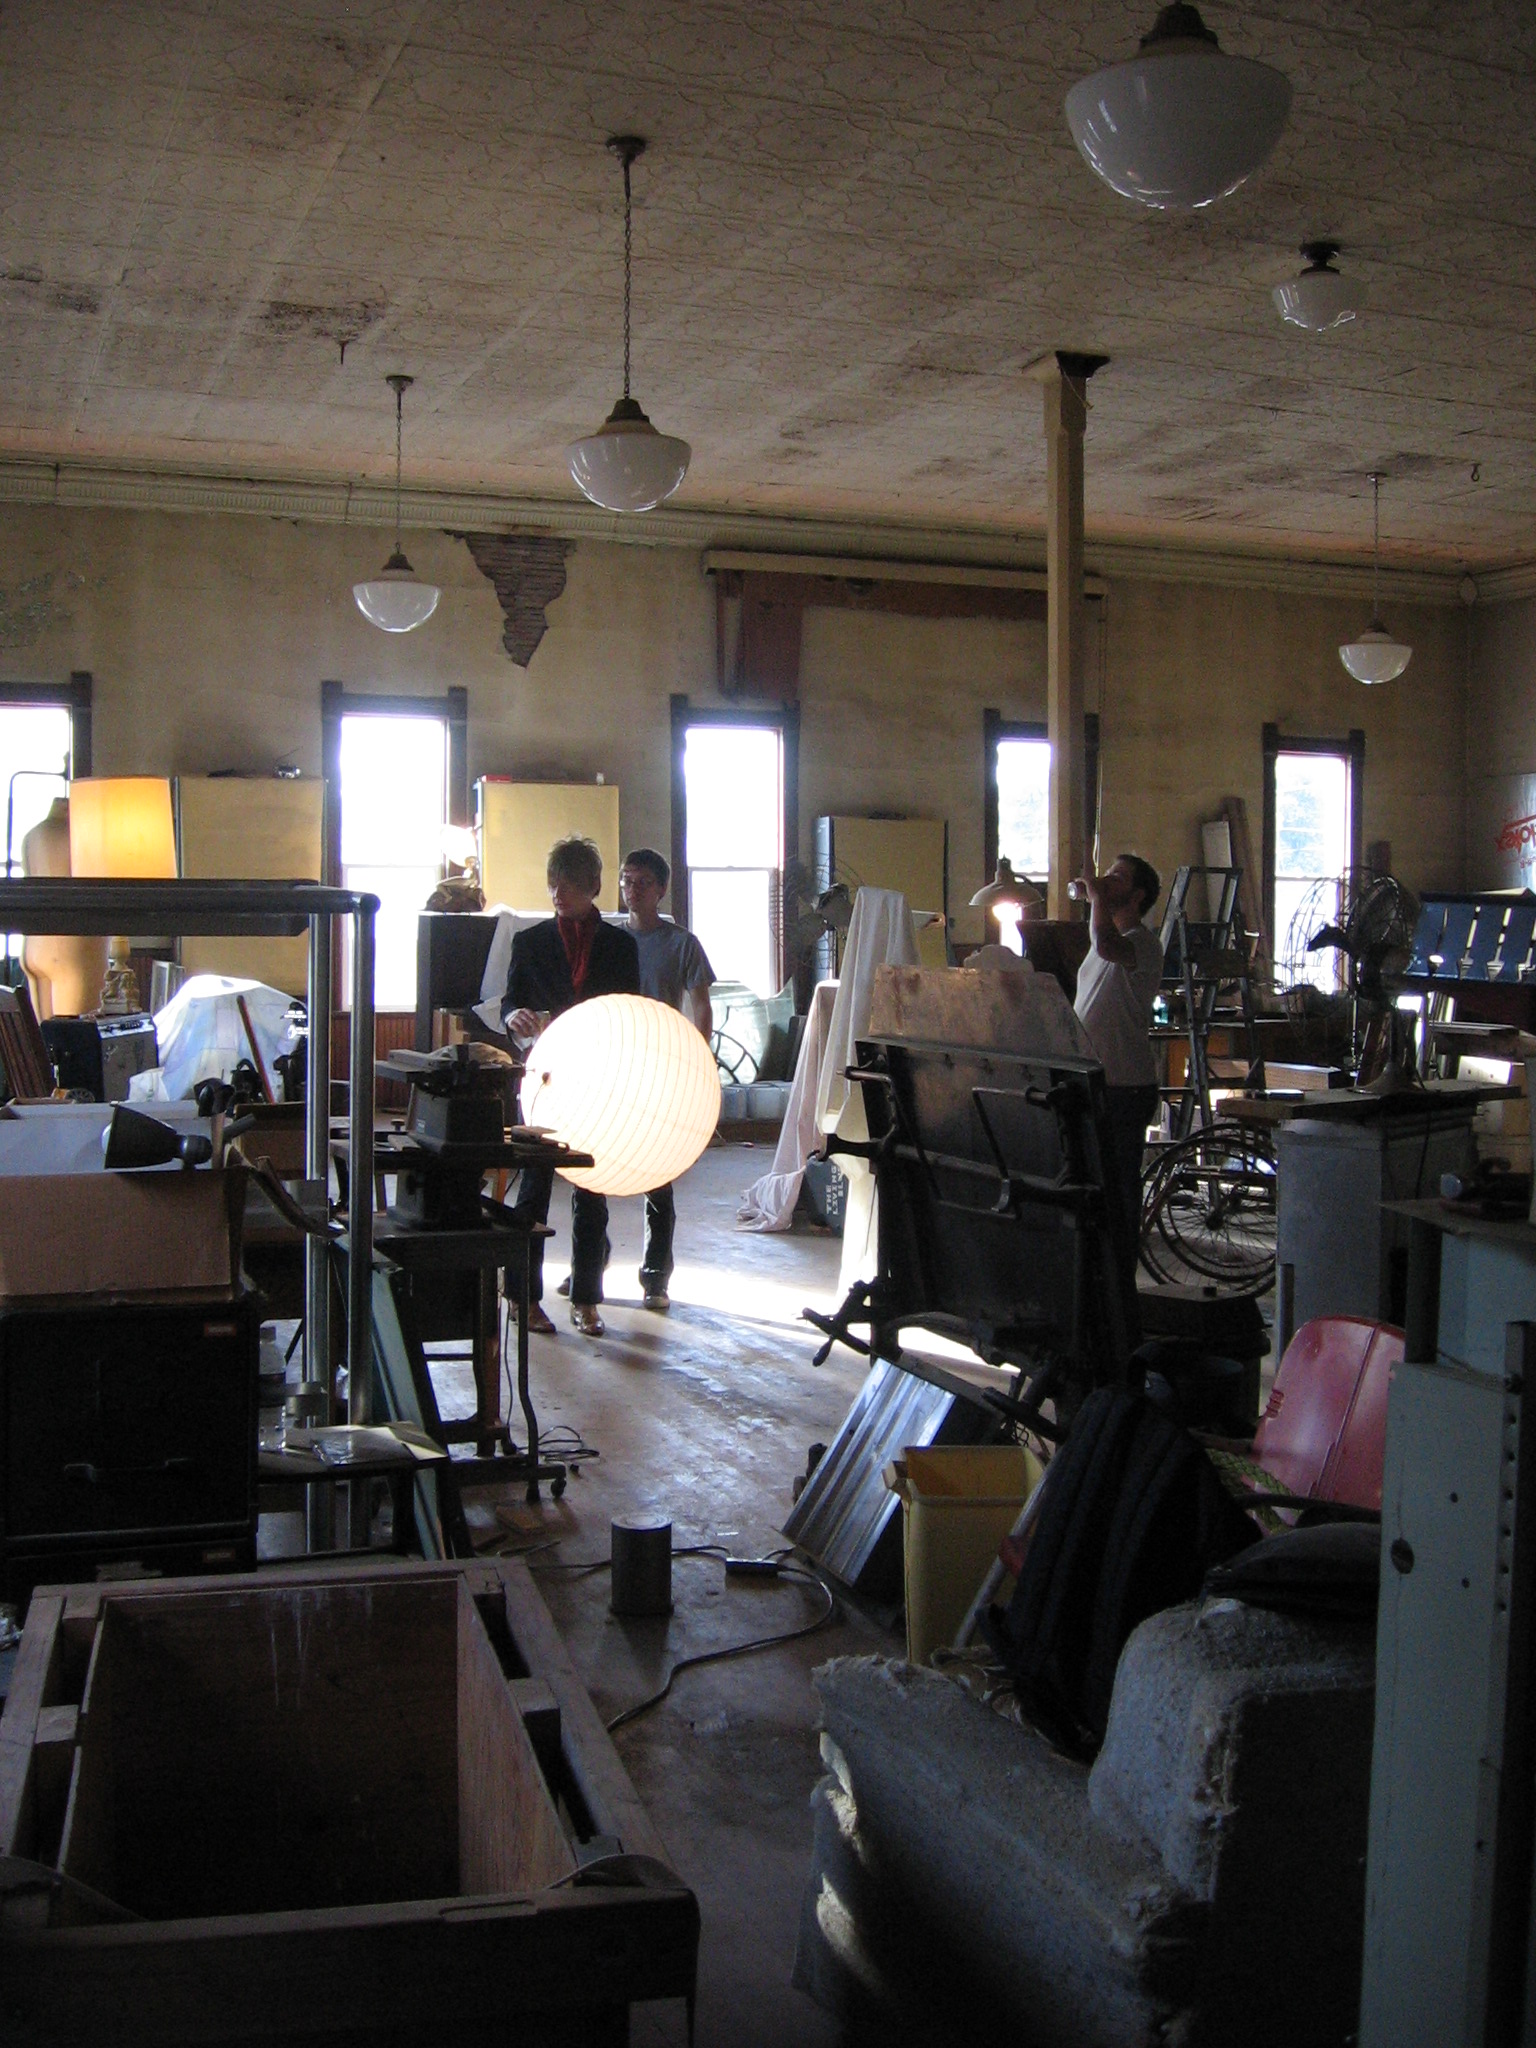
The camera. The reflectors. The tripods. The artificial lights. This is the equipment of a professional photographer. And boy do they work hard and work smart to get such high quality images of interiors!!
But what if you aren't a professional, and you want to get good results with some basic equipment? Here is what you need:
1. a typical point and shoot digital camera, any mega pixel rating
Ken Rockwell explains that there is a myth out there about the MP in cameras. He refers to a story done by David Pogue in 2006 for a TV series "It's All Geek to Me". He blew up the same photo taken with a 13mp, 8mp, and 5mp to 16" x 24". He put them up in Time Square and interviewed people passing by to ask them which photo was taken with what mega pixels. No one could tell which was which!
Check the settings on the camera to manipulate the white balance. Cameras have settings to change the way the color is portrayed on your screen and in the image itself. Ken Rockwell has a great website that explains this:
2. a tripod (not a stick style monopod)
Turn off your flash and use natural light. The tripod will keep the photo from becoming blurry. Get one that works for you budget. You could spend $20 at a discount department store (like me) or look into ones with some useful features. Consider weight, size when closed down, height options when set up, and ease of adjusting the camera angle with the levers. The Manfrotto 3021 BPRO is getting great reviews on Amazon, and is $100. What has become very important to me is a small footprint with the tripod legs. Taking the best picture in a small room gets even harder if the legs are splayed out 4' wide.
The height that you set your camera at is so important. Usually my photos don't look good unless I set the camera a lot lower than my eye level. Because I am so tall, for me that could be 5' 6" (I'm 5' 10"), but I'm talking down to 4' range. Play with what looks good on the display of the camera. How lucky are we to have digital cameras these days??
Also, the camera should be positioned without a tilt. This ensures that the vertical lines in the room do not tilt. This is so distracting. Get those horizontal lines as straight as you can so that your photo DOESN'T look like this:
3. schedule that allows for photographing at twilight OR soft boxes and umbrella lights
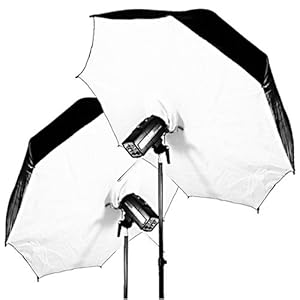
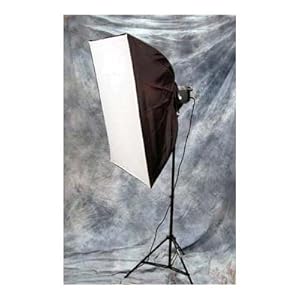
Any time there is more light in front of you than in back of the camera, you will get "blow out" which is too much light overwhelming the shot. It looks like a big white mass and your hard decorating work can't be seen. You can shoot the room when morning or evening light is not harsh as the sun is rising/setting. You can also learn how to use umbrella lights and soft boxes. There are some on Amazon for $25-28 each, with okay quality.
4. Consider a wide angle lense.
Ian Britton, from freefoto.net, explains "Most cameras allow a 35mm view. There are telephoto lenses that are 50, 100, 200, 300mm. These are great for zooming in on a subject from far away. The smaller the number, the more of the scene the camera can capture, so if you can put a lense attachment on your camera that is smaller than 35mm, like 24mm, then you can get more of the room when standing in the same position."
Comments on point2agent.com in an article "Choosing the Right Tool for the (Photographic Job)" complain about too wide of an angle.
I use a 12-24mm lense for all of my interior shots and highly recommend it. I think it captures the spaces really well as opposed to making them look bigger than they actually are.
Eric Roth wrote about how invaluable a zoom lens is for interior photography. He saves time and gets great shots of large areas of the room and then zooms in for vignettes.
There are wide angle lenses out there to fit point and shoot cameras, or flip cameras, or video cameras. You do have to zoom in a bit to get rid of the corners that show up in the edges of the photo:
But this allows you to capture more of the room when standing from the same position. In small rooms this could be very useful (I'm thinking of the shots I've taken of our master bedroom lately) because there isn't anywhere to back up in order to get more of the room.

For sure though, the most important thing is to get the interior design right and the styling/props. Good to know that we are still needed as interior design professionals:
 |
| thestudioatthehoxie.com, Equipment |
But what if you aren't a professional, and you want to get good results with some basic equipment? Here is what you need:
1. a typical point and shoot digital camera, any mega pixel rating
Ken Rockwell explains that there is a myth out there about the MP in cameras. He refers to a story done by David Pogue in 2006 for a TV series "It's All Geek to Me". He blew up the same photo taken with a 13mp, 8mp, and 5mp to 16" x 24". He put them up in Time Square and interviewed people passing by to ask them which photo was taken with what mega pixels. No one could tell which was which!
Check the settings on the camera to manipulate the white balance. Cameras have settings to change the way the color is portrayed on your screen and in the image itself. Ken Rockwell has a great website that explains this:
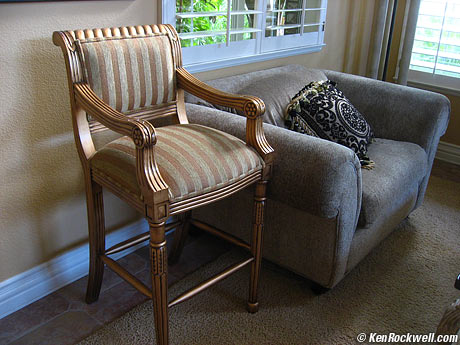 |
The auto white balance is used on the image above, but the image below has been adjusted to the cloudy setting:
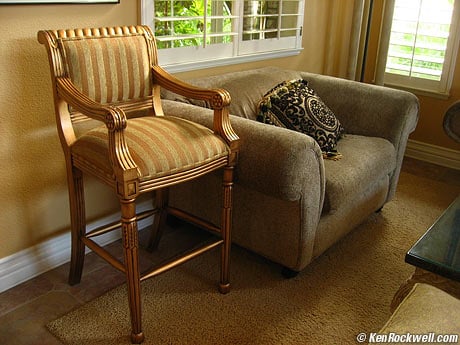 |
Can you believe the difference??? My inexpensive digital camera has some settings that allow me to take warmer photos like this. I switch it too "sunset". But look at symbols on your camera that have maybe clouds or shade etc. and see how much warmer you can get your images. You can also enhance this after the picture is taken in photo software like Picassa (free photo editing from Google), but make sure that you take advantage of the options on the camera first before depending on software after the fact.
Turn off your flash and use natural light. The tripod will keep the photo from becoming blurry. Get one that works for you budget. You could spend $20 at a discount department store (like me) or look into ones with some useful features. Consider weight, size when closed down, height options when set up, and ease of adjusting the camera angle with the levers. The Manfrotto 3021 BPRO is getting great reviews on Amazon, and is $100. What has become very important to me is a small footprint with the tripod legs. Taking the best picture in a small room gets even harder if the legs are splayed out 4' wide.
The height that you set your camera at is so important. Usually my photos don't look good unless I set the camera a lot lower than my eye level. Because I am so tall, for me that could be 5' 6" (I'm 5' 10"), but I'm talking down to 4' range. Play with what looks good on the display of the camera. How lucky are we to have digital cameras these days??
 |
| point2agentblog.com, Getting Your Listing Interior Photos Straight (Part 1) |
Also, the camera should be positioned without a tilt. This ensures that the vertical lines in the room do not tilt. This is so distracting. Get those horizontal lines as straight as you can so that your photo DOESN'T look like this:
 |
nyip.com, How to Photograph Interiors |
3. schedule that allows for photographing at twilight OR soft boxes and umbrella lights
Any time there is more light in front of you than in back of the camera, you will get "blow out" which is too much light overwhelming the shot. It looks like a big white mass and your hard decorating work can't be seen. You can shoot the room when morning or evening light is not harsh as the sun is rising/setting. You can also learn how to use umbrella lights and soft boxes. There are some on Amazon for $25-28 each, with okay quality.
Eric Roth explains reflectors and lighting and lots of other equipment in his book, Photographing Interiors. Doing online research, I have realized that hard shadows from light fixture onto the ceiling or a corner of a wall onto the other wall are not good--that professional lighting was needed to eliminate these. And then there is the business of overall darkness that amateurs are famous for:
nashvillehomeblog |
Clean up the counters!! Yes. But look how dark it is in the corner. Eric Roth does a good job of showing that shadow are fine, as long as you use them right.
 |
oliveryaphe.com, Make an Entrance, photo by Eric Roth |
4. Consider a wide angle lense.
Ian Britton, from freefoto.net, explains "Most cameras allow a 35mm view. There are telephoto lenses that are 50, 100, 200, 300mm. These are great for zooming in on a subject from far away. The smaller the number, the more of the scene the camera can capture, so if you can put a lense attachment on your camera that is smaller than 35mm, like 24mm, then you can get more of the room when standing in the same position."
Comments on point2agent.com in an article "Choosing the Right Tool for the (Photographic Job)" complain about too wide of an angle.
I use a 12-24mm lense for all of my interior shots and highly recommend it. I think it captures the spaces really well as opposed to making them look bigger than they actually are.
Eric Roth wrote about how invaluable a zoom lens is for interior photography. He saves time and gets great shots of large areas of the room and then zooms in for vignettes.
There are wide angle lenses out there to fit point and shoot cameras, or flip cameras, or video cameras. You do have to zoom in a bit to get rid of the corners that show up in the edges of the photo:
 |
| activerain.com, Wide Angle Magnetic Lenses for Pocket Digital Camera |
But this allows you to capture more of the room when standing from the same position. In small rooms this could be very useful (I'm thinking of the shots I've taken of our master bedroom lately) because there isn't anywhere to back up in order to get more of the room.

For sure though, the most important thing is to get the interior design right and the styling/props. Good to know that we are still needed as interior design professionals:
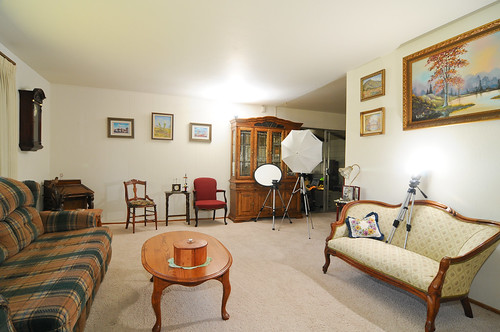 |
| http://www.flickr.com/groups/photographyforrealestate/discuss/72157604952571222/ |
Brooks Short gave some great advice to Nancy on photo.net about how many walls to shoot, camera height, and about lighting.
It's better to shoot into a corner of the room rather then show 3 walls. Showing 3 walls limits the options for hiding your lights and makes the space look like the inside of a boxcar.
The rear of the room should be brighter than the forground to draw the viewer's eye into the shot.
If you're going to show other rooms through a doorway off to the side or rear of the space then you should light those rooms also. Or close the door to those areas.
Finally, place your camera close to the height of a person's head when they are sitting in the furniture. In other words, a lower camera height is more effective than a higher camera height. A higher camera height can make the furniture look small almost as if it were 3/4 scale like children's furniture.
 |
| Brooks Short photographer, gallery on photo.net |